Phases and entries
You create phases and entries in the projectdocs dashboard. Everything described here works in every session mode. The modes limit the AI, not you.
Create a phase
- In the dashboard toolbar, click Create a new phase (+).
- Enter Order (number), for example
9. The order sorts the phases and becomes the prefix of the folder name. - Enter the Title.
- Optional: choose a Parent phase (optional — makes this a subphase).
- Click Create.
Tracemoor creates the folder phases/<order>-<title>/ with a _phase.md.
A subphase is created inside the folder of its parent. The new phase has the
status planned.
To add a subphase to the open phase, click Add a subphase under this phase in the phase header.
Create an entry
- In the dashboard toolbar, click Create a new entry in a phase.
- Choose the Phase.
- Choose the Type. Each type shows a short hint, for example
"Architecture decision record" for
decision. - Enter the Title.
- Click Create.
The entry opens in the reading view. Its file name is
<date>_<type>_<title-slug>.md. A new bugreport starts with the status
open.
For the type ticket the title field is replaced by a ticket picker. See
Tickets in projectdocs.
+ Advanced shows optional frontmatter fields:
| Field | Content |
|---|---|
parent | Slug of a parent phase, for entries of a subphase. |
supersedes | File name of an older entry this one replaces. |
resolves | File name of the bug report this entry closes. |
sources | File paths or URLs, one per line. |
Read and edit an entry
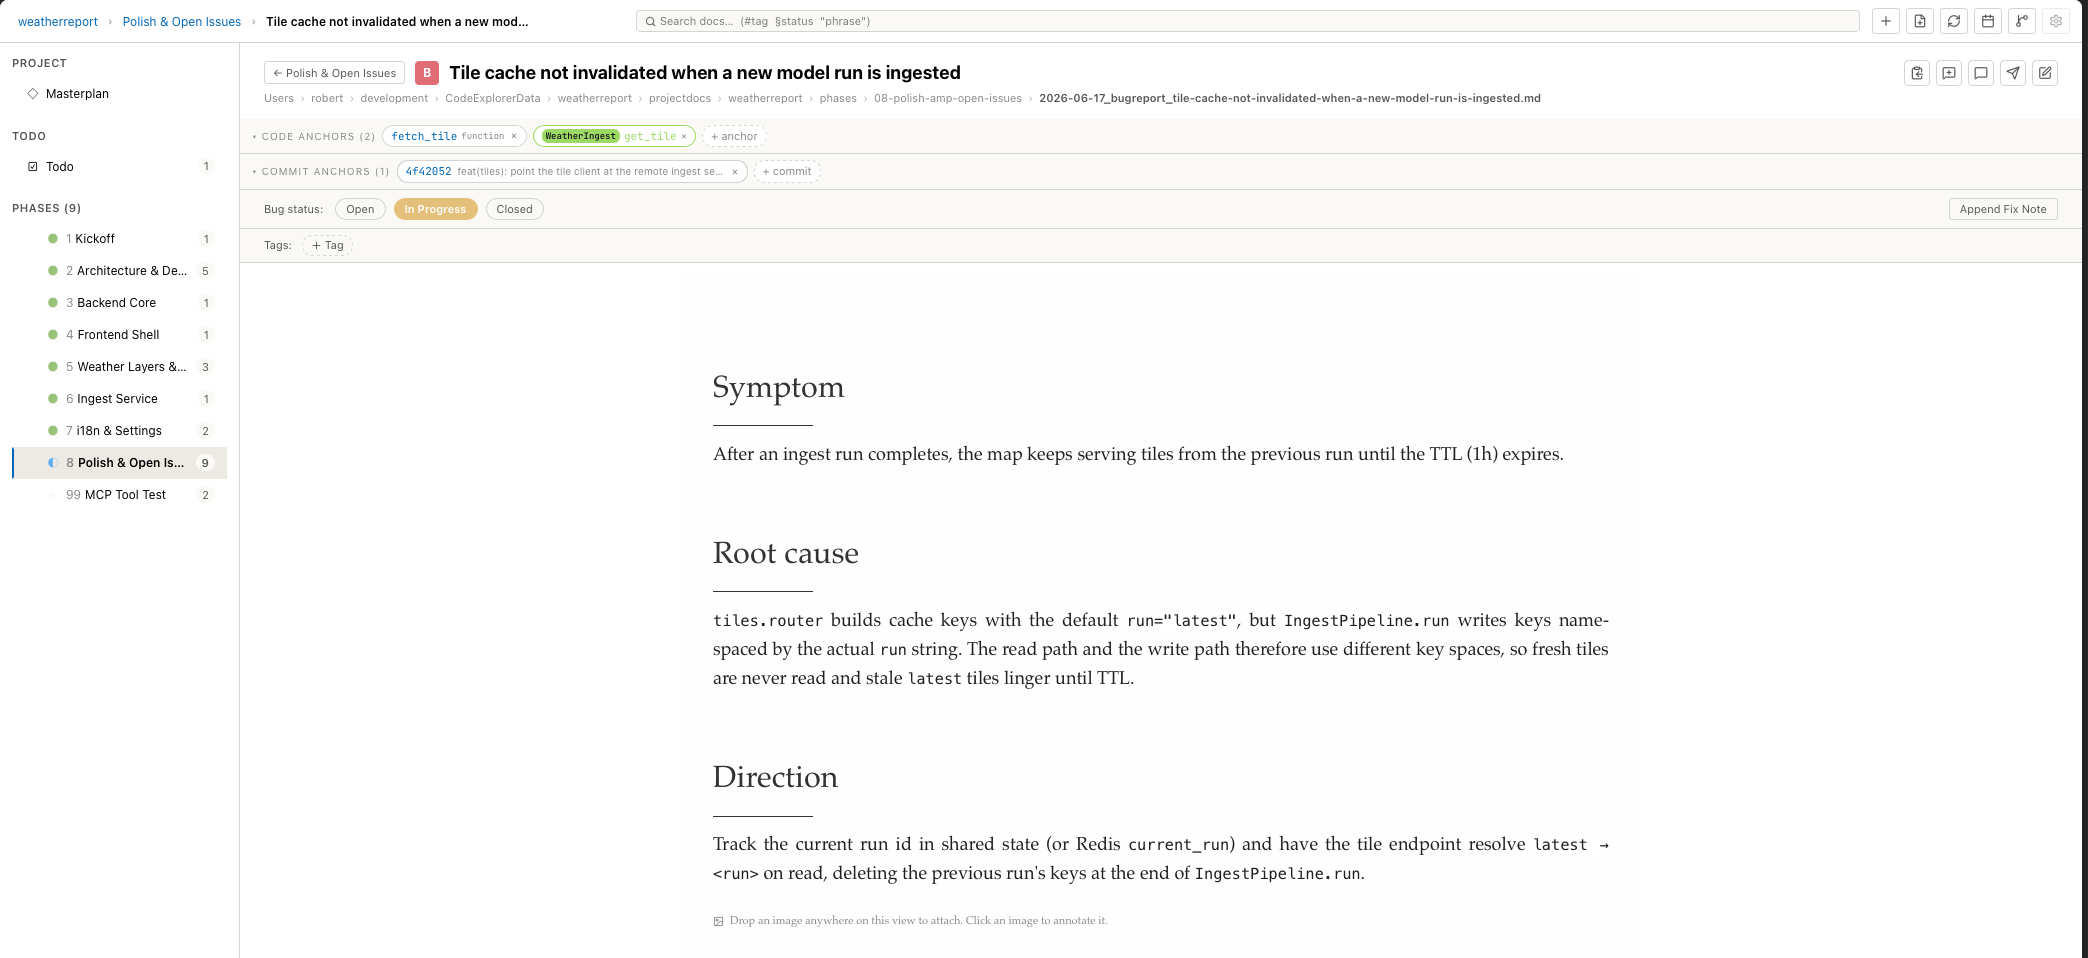
A bug report in the reading view. Above the text: code anchors, commit anchors, status and tags.
The reading view shows the body as formatted text. To change it:
- In the entry header, click Edit body in place.
- Change the text.
- Click Save or press
Cmd+S(Windows/Linux:Ctrl+S).
Switch back to read mode leaves the editor. With unsaved changes it asks first. The frontmatter is not part of the editor and stays untouched.
The editor is plain Markdown or WYSIWYG. Choose it in Tracemoor › Settings… (Windows/Linux: Edit › Preferences…), tab General, Project docs editor. In the Markdown editor, Insert link (ce:// picker) inserts a link to a file, symbol, spec or another entry.
If the file changes on disk while you edit, a banner offers Reload (load the file, discard your changes) and Ignore (keep editing).
Header buttons
| Button (tooltip) | Action |
|---|---|
| Copy path (markdown ticks) to clipboard | Copies the entry path in backticks. |
| Append file path to the chat input | Adds the path to the chat input. |
| Start a new chat session anchored to this entry | See projectdocs and the AI. |
| Create a Jira / GitHub issue from this entry | See Tickets in projectdocs. |
| Edit body in place | Opens the editor. |
Find in an entry
Edit › Find… (Cmd+F) opens a find bar at the top right of the entry,
in read mode and in the editor. It marks every match and counts them.
Enter jumps to the next match, Shift+Enter to the previous one, Escape
closes the bar. The search ignores case and searches the text of the entry,
not its header, tags or anchors. A match does not run across formatting: in
"windgl" the search for "windgl" finds nothing.
Tags
Tags are free labels such as ui or regression. They are used by the search
(#ui) and the phase filters.
- In the Tags: row, click + Tag.
- Type the tag and press
Enter. Existing tags of the exploration are suggested.
Click × on a tag to remove it. The lifecycle status (open,
in-progress, closed, finished) is not edited here. See
Bug reports.
Comment on a passage
- Select text, in the reading view or in the editor.
- Click Add Comment above the selection.
- Write the comment. Markdown is allowed.
- Click Add.
The comment is inserted after the paragraph with the selected text, as a
block with that text as context and the status NEW. In the editor, pending
edits are saved first and the entry is reloaded with the comment. Click the
status in the reading view to switch between NEW and RESOLVED.
Add to AI Context next to Add Comment adds the selected text to the chat input instead.
Images
Drop an image file anywhere on the entry view to attach it. Tracemoor
copies it into the images/ folder next to the entry and inserts a Markdown
image link with a relative path. Click an image
in the reading view to annotate it.
Rename, move, delete
- Rename an entry: right-click the row in the phase, Rename…. The title and the slug part of the file name change. Date and type in the file name stay.
- Rename a phase: Rename this phase in the phase header. The folder name stays.
- Move an entry or a phase: drag and drop, see Move and reorder.
- Delete an entry: right-click the row, Delete, confirm.
Phase status
Click the status pill in the phase header, or right-click the phase in the
sidebar or its card on the masterplan, and choose the status. open-issues is
normally set by Tracemoor. See
Bug reports.